Decorate Your Home with Local Flora + Food this Holiday Season
Gracing windows with festive flora, adorning entryways, and decorating tables during the winter months is a seasonal delight and simpler than you might think. However, between meal planning, parties, and your holiday to-do list, finding the perfect decorations may feel burdensome. We’ve taken two of our winter decor favorites and detailed their assembly, step-by-step, to boost your holiday decorating confidence.
Michigan Holiday Wreath

While locally-made wreaths are abundantly available for purchase, making your own can quickly become a favorite seasonal tradition. Gather greenery during a walk in the woods or trip to your local Christmas tree farm. Next, settle in with family or friends, a few holiday treats to sip or nibble, and all that great-smelling greenery to inspire your creation!
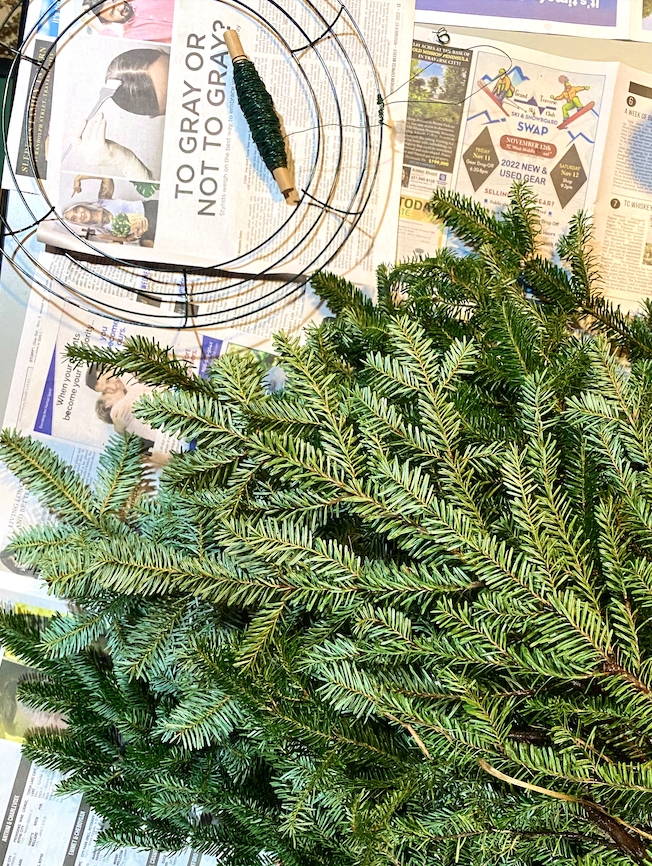
You’ll Need:
Greenery: cedar, spruce, and/or pine boughs
Additional decorations: fallen pine cones, ribbons, ornaments, etc.
Wire wreath frame
Paddle wire (22-gauge is recommended)
Wire snips
Clippers for trimming greenery
How to Create a Wreath
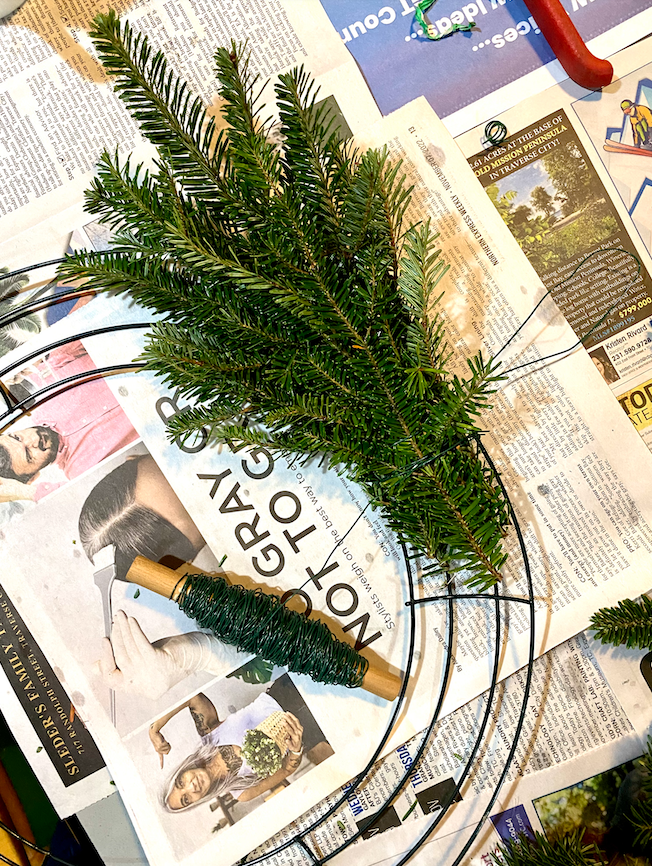
Unwind a bit of wire from the spool and secure the end to the outer edge of the wreath frame.
Gather a small bundle of greenery. Place it on the front of the wreath frame with the stem ends pointing to the right (if you’re left handed, it would be easier to point them to the left).
Wrap the paddle wire around the bundle of greens about 5 times until they feel secure.
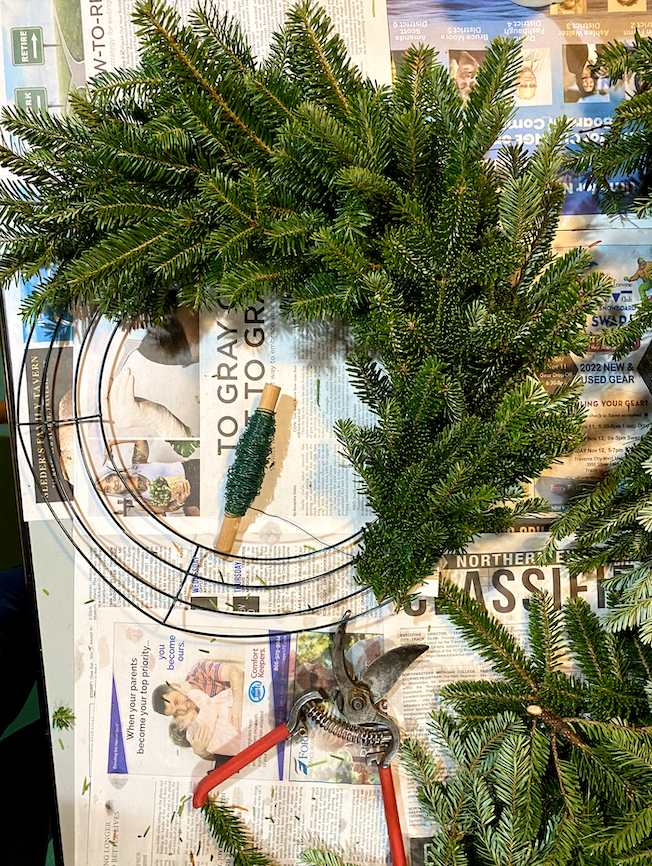
Repeat the process of placing and attaching small bundles of greenery until you’ve worked all the way around the frame.
When attaching the final few bundles, you’ll need to wrap the wire underneath the ends of the first bundle.
Cut the wire and wrap the end on the back side of the frame until it is secure.

A few additional notes:
A lot of learning to make a wreath is about feel and it does take practice to learn how to place the greens to impact the final form of the wreath. Don’t stress too much when you make your very first one. The lessons learned will help you alter the next one you make to be the best it can be!
Use the clippers to trim pieces of your greenery to make each bundle. Longer pieces will make a bigger, more wild looking wreath. Shorter pieces will keep the wreath smaller and tighter.
You can use a combination of different greens or stick to one variety depending on the look you’re going for.
Technically, the frame should have the rounded part pointed towards the front of the wreath, but there is no wrong way to do it! Orienting the frame either way will make a gorgeous wreath, but the shape will be more rounded using it the traditional way.
The wire wreath frame and paddle wire can be reused year after year. Simply re-spool the wire when you take your wreath apart after the season and save it for next year!
Michigan Apple Garland

This recipe is adapted from The Happier Homemaker.
Although citrus garland is popular this time of year, apples are just as beautiful in their subtlety. If you still harbor apples from this year’s harvest, use a few for this project! If not, your local farmers may have a few left at market; any apple will do.
You’ll Need:
3 Michigan Apples
Baking Sheet
Jute Twine
Hot Glue (optional) or large sewing needle

How to Assemble a Michigan Apple Garland
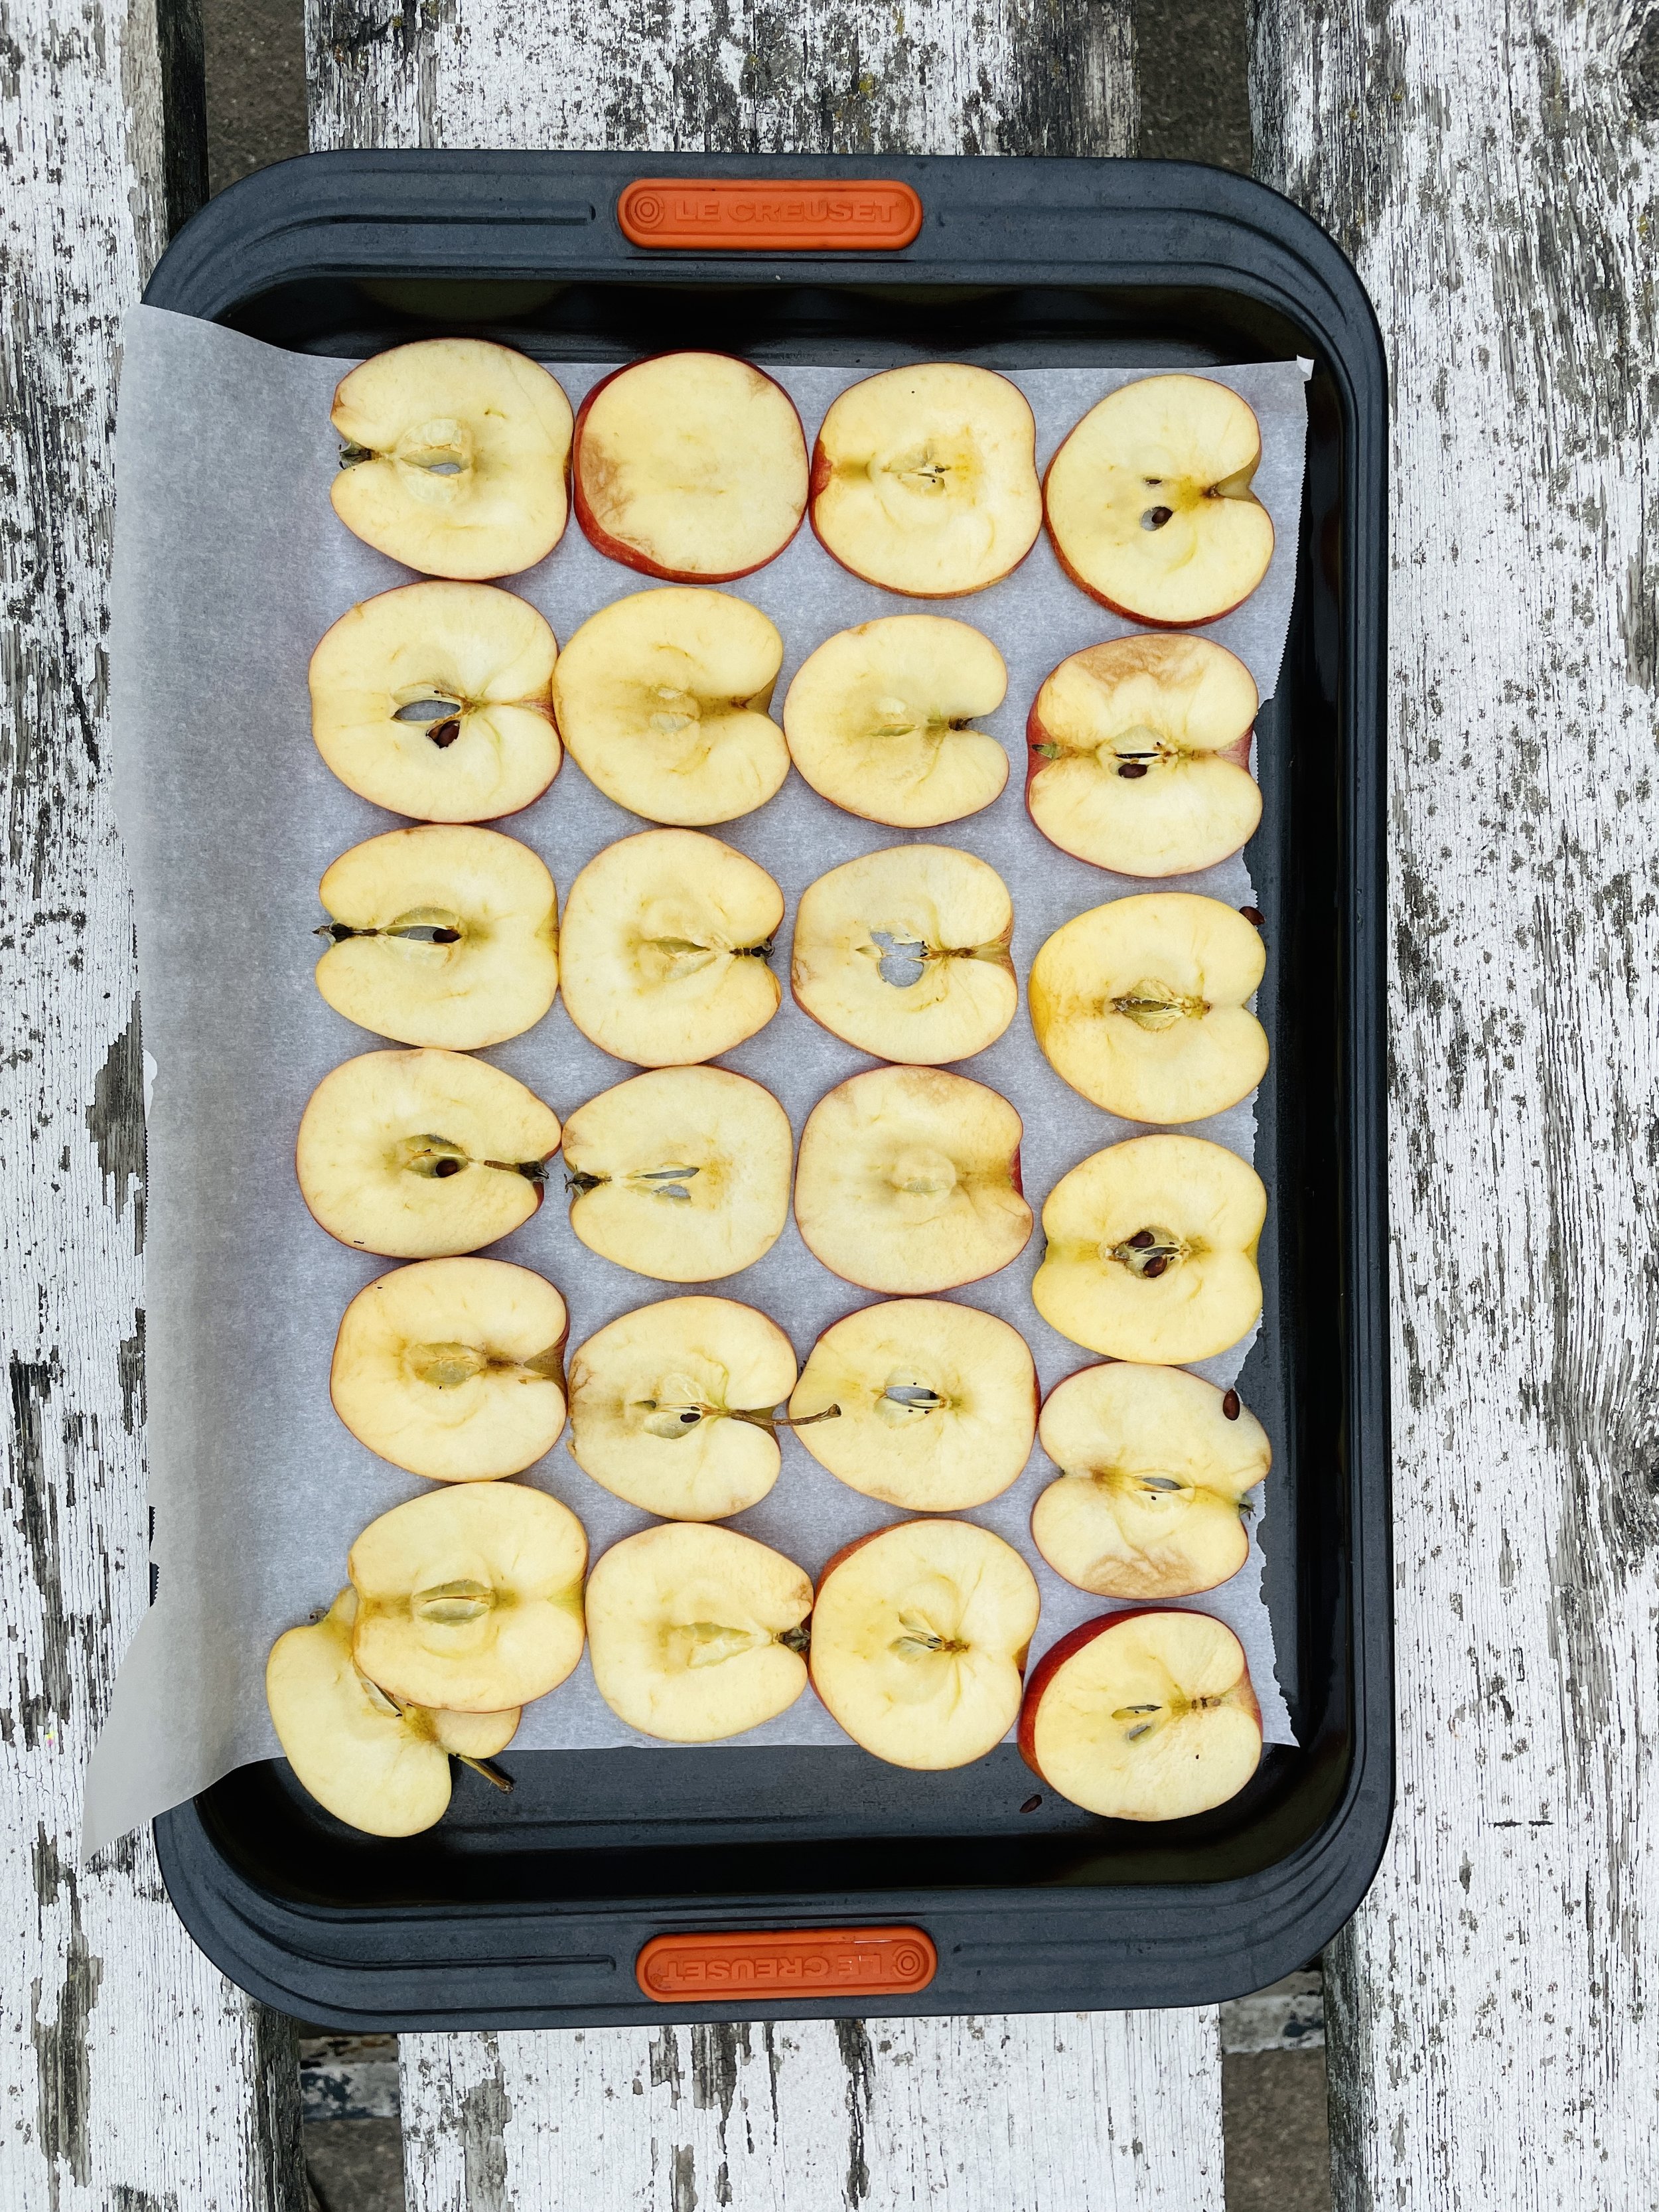
Preheat oven to 200 degrees Fahrenheit.
Slice apples into ¼” slices and place flatly on baking sheet.
Bake in the oven for 6-8 hours or until slices are dry, opening periodically to release moisture.
Allow complete cooling.
Lay apples on a flat surface and either use hot glue to adhere the slices to the twine and allow to dry OR needle the twine through the apple’s centers.
Hang garland anywhere in your home and enjoy!
In search of Michigan apples and flora? Find them in our Find Local Food & Farms online directory!